Save to Pinterest
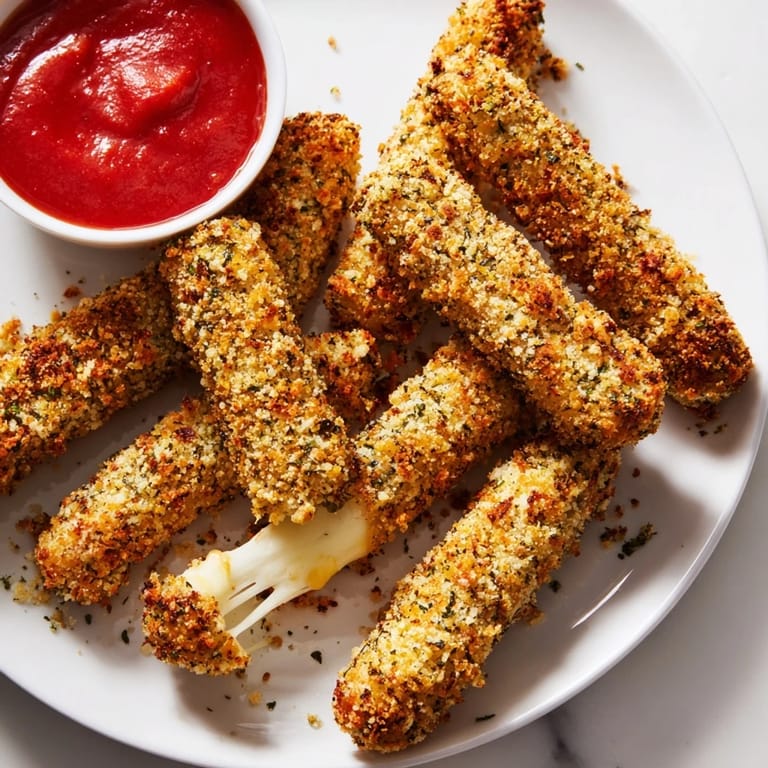
 The first time I made mozzarella sticks at home, I was trying to recreate the ones from my favorite arcade—you know, those golden-brown tubes that squeaked between your teeth and burst with molten cheese. I'd watched them fry a hundred times through the grease-spotted window of the kitchen, and I thought surely I could manage it. What I didn't expect was how quickly the cheese would leak out if I didn't freeze them long enough, or how the coating would bubble and brown unevenly if the oil wasn't quite hot enough. But after a few attempts and some trial and error, I cracked the code, and now I make them whenever I want that nostalgic crunch without leaving my kitchen.
I served these to my teenage nephew during a family game night, and he went through half the batch before anyone else got a plate. His friends started requesting them specifically when they'd come over, which meant I was routinely setting up my little assembly line in the kitchen. There's something about feeding people food they actually light up for—it feels less like cooking and more like being the favorite person at the table.
Ingredients
- Mozzarella cheese, cut into sticks: Fresh or low-moisture mozzarella works best; avoid pre-shredded since the additives prevent that perfect molten center. Cut them into 1 by 8 cm pieces and use them cold straight from the fridge.
- All-purpose flour: This is your first defense, helping the egg mixture cling properly to the cheese.
- Eggs and milk: Whisked together, they create a binding layer that locks in moisture and helps the breadcrumbs adhere beautifully.
- Panko breadcrumbs: These larger crumbs fry up noticeably crunchier than regular breadcrumbs, creating that satisfying shatter you're after.
- Garlic powder, Italian herbs, salt, and pepper: These season the coating so every bite tastes intentional, not bland.
- Vegetable oil: Use enough to fully submerge the sticks, and choose an oil with a high smoke point so it can handle the heat without burning.
- Marinara sauce: Warm it gently while you fry; cold sauce against hot cheese is a texture clash.
Tired of Takeout? 🥡
Get 10 meals you can make faster than delivery arrives. Seriously.
One email. No spam. Unsubscribe anytime.
Instructions
- Set up your breading station:
- Arrange three shallow bowls in a line: flour in the first, whisked eggs and milk in the second, and seasoned breadcrumbs in the third. This rhythm—flour, egg, crumb—becomes almost meditative once you start.
- Coat each stick thoroughly:
- Dredge a mozzarella stick in flour, tap off the excess, dip it in egg, then roll it in breadcrumbs until completely covered. Here's the secret: repeat the egg and breadcrumb step one more time for a double coating that fries up impossibly crispy.
- Freeze until firm:
- Spread the coated sticks on a parchment-lined baking sheet and slide them into the freezer for at least an hour, or until they feel rock-solid. This freezing time is non-negotiable—it keeps the cheese from weeping out during frying.
- Heat your oil:
- Use a thermometer and bring the oil to exactly 180°C (350°F) in your deep fryer or a heavy-bottomed pot. If it's too cool, the coating absorbs oil and turns greasy; too hot, and it burns before the cheese melts.
- Fry in batches:
- Carefully place a few frozen sticks into the hot oil—don't crowd the pot or they'll steam instead of fry—and let them cook for 1 to 2 minutes, turning once, until they're golden brown and the cheese just starts to peek through at the seams.
- Drain and serve:
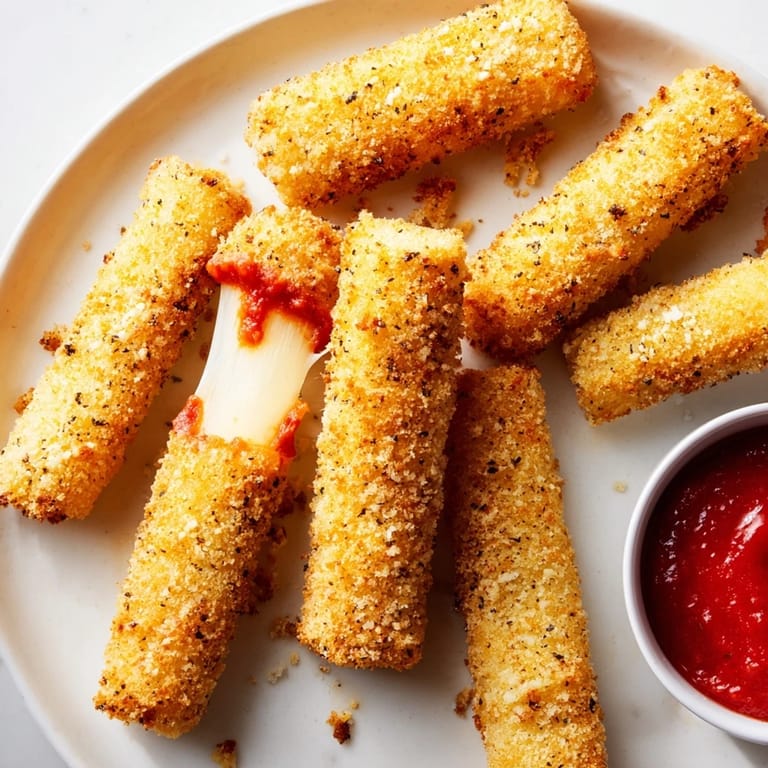
- Fish them out with a slotted spoon onto paper towels to absorb excess oil, then serve them immediately while they're still hot and the cheese is in that perfect molten state.
 Save to Pinterest
 One evening, a friend who'd been vegan for years asked if I could make a dairy-free version using mozzarella alternative. I was skeptical—plant-based cheese usually doesn't have that stretchy, luxurious texture—but I tried anyway. And somehow, it worked. Not exactly the same, but it gave her that same moment of joy I've always felt with these, and I realized the magic wasn't just in the cheese, but in the care of the cooking itself.
The Freezing Step That Changes Everything
When I first started making these, I skipped the freezing because I was impatient and hungry. The sticks split open in the oil, turning my perfect golden coating into a disappointing, cheese-leaking mess. That failure taught me that freezing isn't a suggestion—it's the foundation of success. The cold cheese contracts as it hits the heat, creating time for the coating to set and crisp before the interior melts. It's the difference between a snack and an actual achievement.
Oil Temperature Is Your Secret Weapon
I learned this the hard way when my oil was only 160°C because I didn't check carefully enough. The sticks absorbed oil like a sponge and came out heavy and greasy instead of light and crispy. Since then, I've become almost obsessive about using a thermometer—it takes one minute and transforms the entire outcome. The oil needs to be hot enough that the coating sets and browns quickly, but not so hot that it burns before the cheese inside has time to melt.
The Double-Coat Trick and Other Small Tweaks
What seems like a small extra step—dipping the stick in egg and breadcrumbs a second time—actually creates a noticeably thicker, crunchier crust that lasts longer even as it cools. It's the kind of detail that separates okay from restaurant-quality, and it takes maybe thirty seconds per batch. The little adjustments in cooking matter more than people expect, and this dish proves it beautifully.
- Add a pinch of chili flakes to the breadcrumb mixture if you want just a whisper of heat without overwhelming the cheese.
- Make these ahead and store them in the freezer for up to three weeks, then fry straight from frozen whenever hunger strikes.
- Warm your marinara gently while frying so the sauce matches the temperature of the mozzarella, creating a seamless dipping experience.
 Save to Pinterest
 There's something wonderfully simple about a perfectly made mozzarella stick—it asks very little but delivers exactly what it promises. These will become your go-to snack, party appetizer, or late-night craving solution, and they're proof that homemade is always worth the small amount of extra effort.
Recipe Questions & Answers
- → What type of cheese works best for these sticks?
Firm mozzarella cut into 1x8 cm sticks provides the ideal melting texture and shape.
- → How do I prevent the cheese from leaking while frying?
Double-coating the sticks and freezing them before frying helps to keep the cheese from oozing out.
- → Can I make these gluten-free?
Yes, substitute regular flour and breadcrumbs with gluten-free alternatives to suit dietary needs.
- → What is the best oil temperature for frying?
Heat oil to around 180°C (350°F) to achieve a crisp exterior without overcooking the cheese inside.
- → How should these sticks be served?
Serve immediately after frying with warm marinara sauce for dipping to enjoy maximum texture and flavor.