 Save to Pinterest
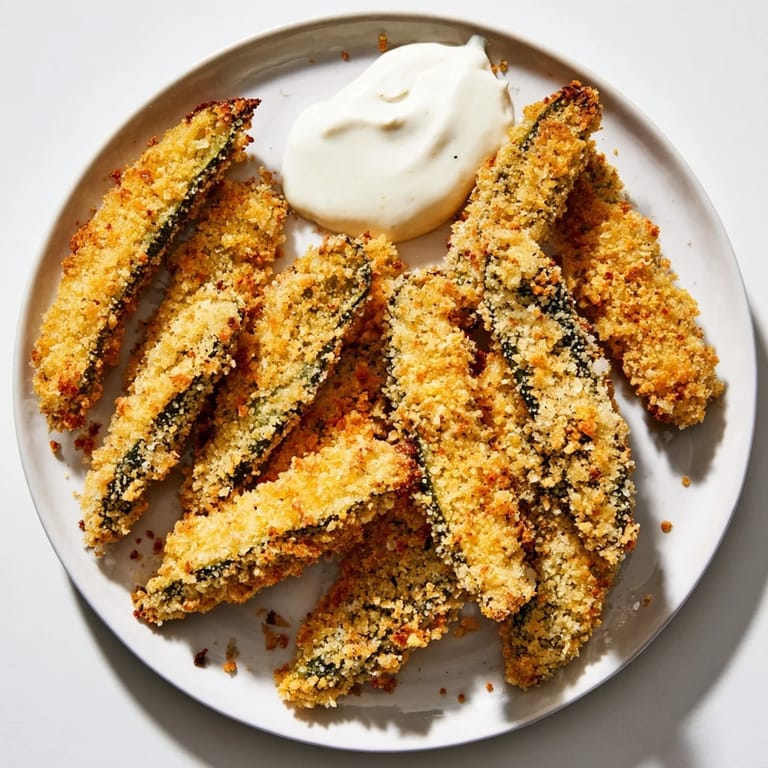
 I discovered fried pickles at a county fair on a sweltering August afternoon, biting into one still steaming from the fryer and immediately understanding why people lined up for them. The shock of cold pickle juice against the crispy, golden crust was revelatory—tangy and salty meeting fried and crunchy in a way that made perfect sense. Now whenever I make them at home, I'm transported back to that moment, standing in front of a vendor's cart with grease-stained fingers and absolute certainty that I'd just found something special.
Last summer I made these for a backyard gathering, nervous because I'd only fried them once before and didn't trust myself not to mess them up. The moment my neighbor bit into one and her eyes widened, I relaxed—she asked for the recipe before even reaching for the ranch. By the end of the night, I'd watched people forget about every other appetizer on the table.
Ingredients
- Dill pickle spears: Use large ones so they fry evenly and stay juicy inside; draining and patting them completely dry is non-negotiable or they'll splatter in the oil.
- All-purpose flour: This creates a base layer that helps the breading stick and adds structure.
- Eggs and milk: The egg wash is your adhesive; the milk just keeps the mixture from being too thick.
- Panko breadcrumbs: Regular breadcrumbs work, but panko gives you that satisfying crunch that lingers.
- Garlic powder, paprika, cayenne: These seasonings are what make them taste restaurant-quality rather than just fried pickles.
- Vegetable oil: Use neutral oil that can handle high heat; I've learned not to skimp on depth—2 inches minimum ensures even cooking.
- Ranch dressing: The cool, creamy counterpoint that makes them dangerous to have around.
Tired of Takeout? 🥡
Get 10 meals you can make faster than delivery arrives. Seriously.
One email. No spam. Unsubscribe anytime.
Instructions
- Heat your oil to the right temperature:
- Preheat the oil to 350°F in a deep fryer or heavy pot—this is where I learned to use a thermometer instead of guessing. Too cool and they're soggy; too hot and they're burnt outside and still briny inside.
- Set up your breading station:
- Three shallow bowls in a row: flour, egg wash, seasoned breadcrumbs. This assembly-line approach keeps things tidy and makes dredging intuitive.
- Coat each pickle thoroughly:
- Flour first, shaking off excess, then egg mixture, then breadcrumbs pressed gently so they actually adhere. This matters more than you'd think.
- Fry in small batches:
- Lower them carefully into the hot oil—I use a slotted spoon or spider to avoid splashing. Fry for 2–3 minutes, turning occasionally, until they're golden brown and the coating is crispy.
- Drain and serve immediately:
- Blot them on paper towels for just a minute, then get them to the table while they're still hot and crunchy.
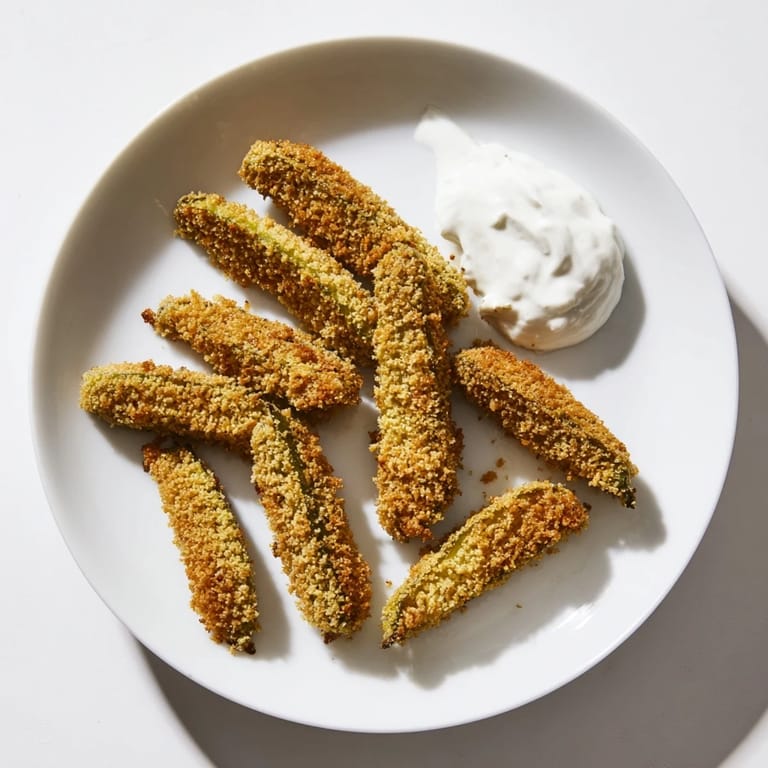 Save to Pinterest
 There's something almost ceremonial about standing at a hot fryer, watching these golden pickles float up one by one, knowing exactly what reaction they're about to get from whoever's about to bite into one. It's food that makes people happy in an immediate, uncomplicated way.
The Oil Temperature Game
I used to avoid frying because I was terrified of the oil, but I learned that the fear diminishes the moment you use a reliable thermometer and treat the oil with respect. 350°F is the sweet spot where the coating crisps without the pickle staying cold in the middle, and that precision is worth every second of attention you give it.
Why Panko Changes Everything
The first time I switched from regular breadcrumbs to panko, I understood immediately why the premium was worth it—the crunch actually survives the dip into ranch instead of collapsing into a mushy coating. Those larger, lighter crumbs create air pockets that stay crispy even as moisture seeps in from the pickle.
Dressing Up Your Dip
Plain ranch is perfect, but I've learned a few tricks for when I want to make them feel like something more. A little cayenne mixed into the dip brings heat that plays beautifully against the cool tang of the pickle, and blue cheese dressing transforms them into something you'd pay for at a bar.
- Stir a dash of hot sauce into the ranch for a quick spicy version.
- Crumble blue cheese into sour cream with a splash of milk for something tangy and sharp.
- Mix ranch with sriracha for a creamy, spicy alternative that's become my secret weapon.
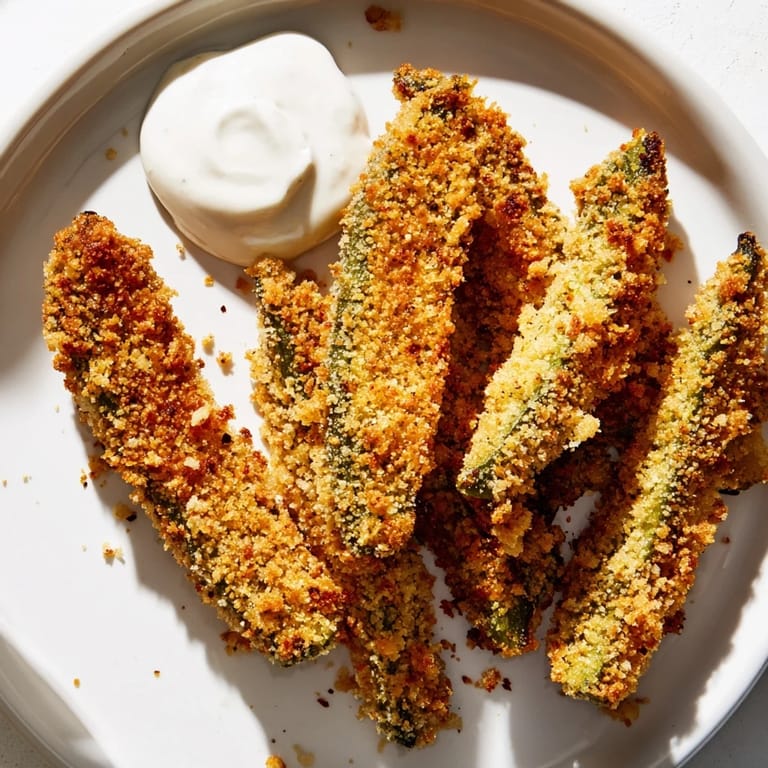 Save to Pinterest
 These pickles have become my go-to when I want to impress without spending hours in the kitchen, and they never, ever disappoint. Once you master the technique, you'll find yourself making them far more often than you expected.
Recipe Questions & Answers
- → What type of pickles work best for frying?
Dill pickle spears that are firm and well-drained work best, as they hold their shape during frying and maintain a good crunch.
- → How can I achieve extra crispiness in the coating?
Using panko breadcrumbs adds an extra crunch to the coating, while pressing the crumbs firmly helps them adhere better before frying.
- → What oil temperature is ideal for frying pickle spears?
Maintain the oil temperature at 350°F (175°C) to ensure even cooking and a golden, crispy exterior without absorbing too much oil.
- → Can I prepare the breaded pickles ahead of time?
Yes, breaded pickles can be prepared and refrigerated briefly before frying, but fry them fresh for best crunch and flavor.
- → What are good dipping options besides ranch?
Try spicy ranch, blue cheese dressing, or even a garlic aioli to complement the tangy fried pickles with varied flavors.
- → How can I make this dish gluten free?
Substitute the all-purpose flour and breadcrumbs with gluten-free alternatives to accommodate dietary needs without sacrificing texture.