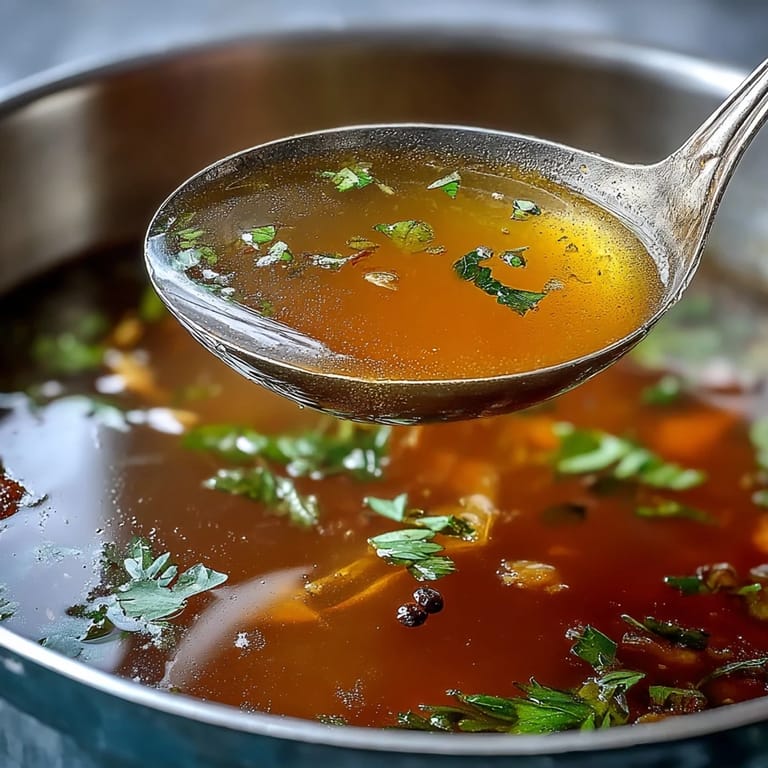
 Save to Pinterest
 My kitchen drawer used to be a graveyard of vegetable scraps—carrot peels, onion papery skins, celery nubs that seemed too small to matter. One winter afternoon, while prepping dinner, I stared at the pile and thought there had to be a better way than tossing everything into the compost. That's when I learned the oldest kitchen secret: those scraps are liquid gold waiting to happen. Now, making broth from what I'd once thrown away feels like I'm getting away with something delicious.
I made this for a friend who was recovering from being under the weather, and watching her sip a warm cup of broth I'd created from kitchen scraps felt somehow more meaningful than any fancy soup. She texted me later saying she'd made a batch herself, and now we send each other photos of our scrap bags filling up in the freezer. There's something about zero-waste cooking that connects people differently than other recipes.
Ingredients
- Vegetable Scraps (5 to 6 cups): Save carrot peels, onion skins, celery ends, leek tops, mushroom stems, garlic skins, and herb stems—basically everything you'd normally discard, as long as it's clean and fresh.
- Bay Leaves (2): These add subtle depth without overpowering, and they're worth the two seconds it takes to fish them out at the end.
- Whole Black Peppercorns (8 to 10): Leave them whole so they don't cloud your broth, and you can easily remove them during straining.
- Garlic (2 cloves, optional, smashed): If you use it, smash it open to release its essence into the broth without adding bitterness.
- Fresh Parsley or Thyme Sprigs (1 small handful, optional): These bring freshness and should go in toward the end if you want their brightness preserved.
- Salt (1 to 2 teaspoons): Start low and taste as you go—you can always add more, but you can't take it back.
- Cold Water (2 liters or 8 cups): Cold water lets the flavors extract gently, unlike hot water which can make things taste harsh.
Tired of Takeout? 🥡
Get 10 meals you can make faster than delivery arrives. Seriously.
One email. No spam. Unsubscribe anytime.
Instructions
- Gather and Assess Your Scraps
- Rinse your vegetable trimmings under cool water and pat them dry so you're not adding extra moisture or dirt to the pot. Skip anything bitter like broccoli crowns, Brussels sprout leaves, or large amounts of cabbage, since they'll turn your delicate broth bitter and cloudy.
- Build the Base
- Toss your scraps into a large stockpot with the bay leaves, peppercorns, smashed garlic, and salt, then pour in the cold water. You want everything submerged but not packed too tightly, so there's room for the flavors to move around.
- Bring It to Life
- Turn the heat to medium-high and watch for the moment the water shifts from still to gently rolling—that's your cue to dial it back to a simmer. This gentle heat extracts all the good stuff without aggressive boiling that clouds the broth.
- Tend the Pot
- Let it simmer uncovered for about 1 hour, and every 15 minutes or so, skim off the foamy stuff that rises to the surface with a ladle—it's impurities leaving the broth. This takes two minutes and makes a surprising difference in how clear and clean your final broth tastes.
- Taste and Adjust
- After an hour, fish out a spoon of broth and taste it carefully, letting it cool slightly on your tongue. If it tastes thin or weak, keep simmering a few more minutes; if it's flavorful and aromatic, you're done.
- Strain with Care
- Pour the broth slowly through a fine-mesh sieve lined with cheesecloth into a large bowl, letting it flow gently without pushing on the solids. The solids go to compost or trash, and you're left with liquid that took less than 15 minutes of actual hands-on work.
- Cool and Store
- Let the broth cool to room temperature before covering and refrigerating—hot broth in a sealed container can create condensation and spoil faster. It keeps for 5 days in the fridge or 3 months frozen, ready whenever you need it.
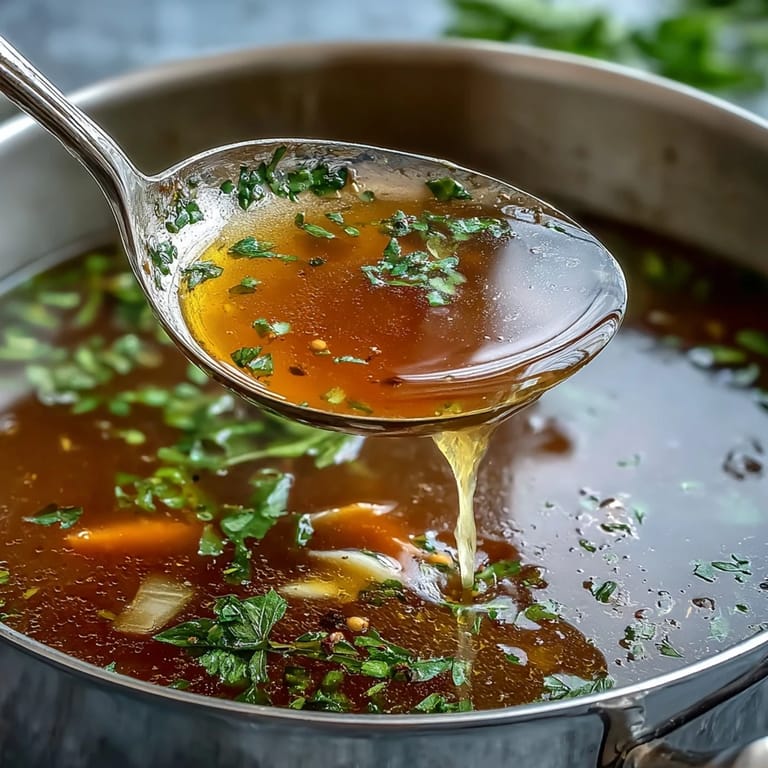 Save to Pinterest
 There's a quiet satisfaction in turning something destined for the trash into something that nourishes you and the people you cook for. This broth has become my secret weapon for making weeknight soups taste like I've been simmering since dawn.
The Scraps That Matter Most
Not all vegetable scraps are created equal, and learning which ones to save changed how I prep vegetables. Carrots, onions, celery, and leeks are your MVPs—they're the foundation of every professional kitchen's stock. Mushroom stems, garlic skins peeled from cloves, and fresh herb branches all add character without any waste. Potato peels (if they're clean) contribute body, and roasted vegetable scraps can add a deeper note if you happen to have them.
When to Skip and When to Splurge
I learned the hard way that cruciferous vegetables—broccoli, cauliflower, and Brussels sprouts—will turn your carefully made broth into something that tastes slightly sulfurous and off. The same goes for large amounts of cabbage, beet greens, or anything that smells strong raw. However, if you're feeling adventurous, a single piece of dried kombu or a couple of dried shiitake mushrooms will add umami depth that makes people ask what your secret is.
Making This Recipe Your Own
The beauty of this broth is that it's infinitely adaptable depending on what you have on hand and how you're feeling in that moment. Some days I make it light and delicate for sipping; other times I add roasted garlic or a strip of ginger to shift the whole flavor profile. The same base method works whether you're making it for a weeknight pasta cooking water or for freezing a batch for the month ahead.
- Keep a labeled bag in your freezer specifically for broth scraps so you're always ready to make a batch.
- If you want deeper flavor, roast your scraps in a hot oven for 20 minutes before adding them to the pot.
- Taste your broth before storing—sometimes the room-temperature version tastes different than when it's hot, so adjust salt accordingly.
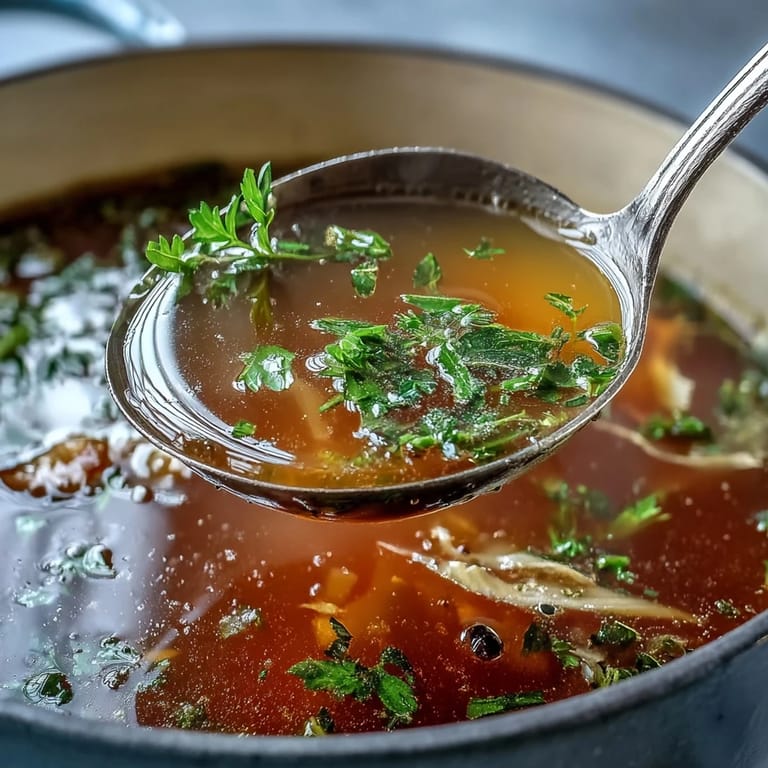 Save to Pinterest
 Making broth from scraps reminds me that some of the best things in cooking come not from fancy ingredients, but from respecting what you already have. Once you start, you'll find yourself looking forward to vegetable prep night just so you can feed your freezer.
Recipe Questions & Answers
- → What vegetable scraps work best for broth?
Carrot peels, onion skins, celery ends, leek tops, mushroom stems, garlic skins, and parsley stems create the most flavorful base. Potato peels add body while herbs contribute aromatic depth.
- → Which vegetables should I avoid using?
Skip cruciferous vegetables like broccoli, cauliflower, Brussels sprouts, and cabbage. These can impart bitter flavors and strong odors that overpower the broth's delicate taste.
- → How long can I store homemade vegetable broth?
Keep refrigerated in airtight containers for up to five days, or freeze for three months. Consider freezing in portion-sized containers or ice cube trays for easy use.
- → Can I freeze vegetable scraps until I have enough?
Absolutely. Store clean scraps in a freezer bag, adding more trimmings until you accumulate 5-6 cups. This approach ensures you always have enough material for a full batch.
- → What enhances the umami flavor in vegetable broth?
Add dried shiitake mushrooms or a piece of kombu seaweed during simmering. These ingredients deepen the savory profile without overpowering the fresh vegetable notes.
- → Should I salt the broth during or after cooking?
Add salt during simmering to help extract flavors from vegetables, but taste near the end and adjust. Remember you can always add more salt later, but you cannot remove it.