 Save to Pinterest
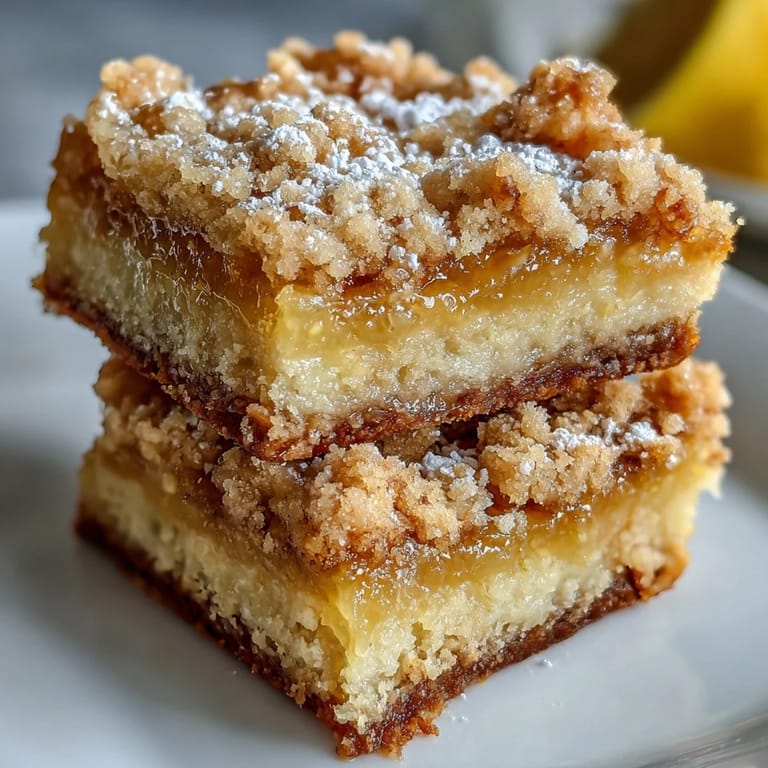
 My kitchen smelled like summer before I even pulled these bars from the oven. The butter had browned just slightly at the edges, and the lemon zest left my fingertips sticky and fragrant for hours. I wasn't trying to impress anyone that afternoon, just craving something bright to shake off a gray week. What came out of that pan was better than I'd hoped: tangy, crumbly, and gone by dinner.
I brought these to a backyard barbecue once, still cold from the fridge in a glass dish. My friend's mom took one bite and asked if I'd used Meyer lemons, which I hadn't, but I loved that she noticed the brightness. By the time the sun set, only crumbs remained on the plate. Someone joked that I should've made a double batch, and honestly, they were right.
Ingredients
- All-purpose flour: The backbone of both the crust and the filling, giving structure without heaviness.
- Granulated sugar: Sweetens the crumb and balances the tartness of the lemon filling beautifully.
- Baking powder: A little lift in both layers keeps the texture tender and light.
- Salt: Just a pinch sharpens every flavor and keeps the sweetness in check.
- Unsalted butter, melted: Creates those golden, crumbly bits that make the topping irresistible.
- Large eggs: Bind the filling and give it a custard-like richness when baked.
- Fresh lemon juice: The star of the show, bringing that unmistakable zing and brightness.
- Lemon zest: Adds aromatic oils and depth that bottled juice just can't match.
- Powdered sugar: A snowy dusting at the end makes these bars look bakery-worthy.
Tired of Takeout? 🥡
Get 10 meals you can make faster than delivery arrives. Seriously.
One email. No spam. Unsubscribe anytime.
Instructions
- Preheat and Prep:
- Set your oven to 350°F and grease or line a 9x9-inch pan with parchment paper. The parchment makes lifting the bars out so much easier later.
- Mix the Crumb Base:
- Combine flour, sugar, baking powder, and salt in a bowl, then stir in melted butter until the mixture looks like wet sand. Reserve half a cup for topping and press the rest into the pan.
- Bake the Crust:
- Slide the pan into the oven for 10 to 12 minutes until the edges just start to turn golden. You want a firm base, not a fully baked cookie.
- Whisk the Lemon Filling:
- While the crust bakes, whisk eggs and sugar together, then add lemon juice, zest, flour, baking powder, and salt. Whisk until smooth and no lumps remain.
- Assemble and Bake:
- Pour the lemon filling over the hot crust, sprinkle the reserved crumbs on top, and bake for 20 to 25 minutes. The filling should be set and the topping lightly browned.
- Cool and Chill:
- Let the bars cool in the pan for an hour, then refrigerate for at least another hour before slicing. Cold bars slice cleanly and taste even better.
 Save to Pinterest
 The first time I made these, I sliced them too soon and the filling oozed everywhere. I learned patience that day, and now I always chill them overnight if I have the time. There's something satisfying about lifting a perfect square from the pan, the edges clean and the crumbs intact. It's a small victory that makes the wait worth it.
Storing and Serving
These bars keep beautifully in the fridge for up to a week, tucked into an airtight container between layers of parchment. I've even frozen a batch once, wrapped tightly, and they thawed perfectly for an impromptu dessert. Serve them cold with a dusting of powdered sugar, or let them come to room temperature if you prefer a softer crumb. They pair wonderfully with black tea or a crisp white wine.
Variations to Try
Swap the lemon for lime and you'll get a whole different kind of brightness, almost tropical. I've also stirred a tablespoon of cornstarch into the filling when I wanted a firmer set, which worked perfectly for a picnic. If you like things sweeter, add an extra quarter cup of sugar to the filling, though I think the tartness is what makes these bars so addictive.
Final Touches
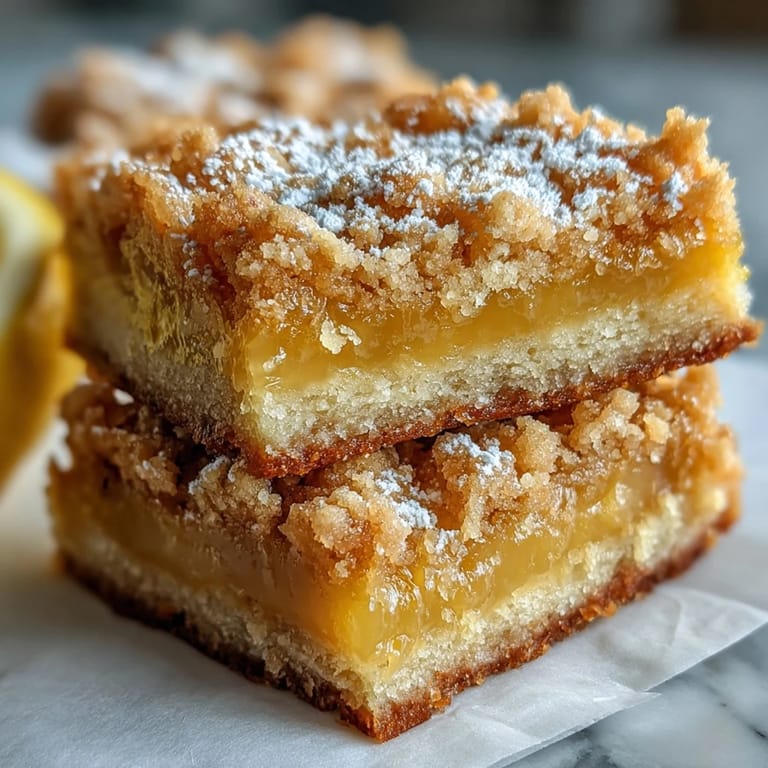
The powdered sugar dusting isn't just for looks, it adds a whisper of extra sweetness that rounds out each bite. I like to dust them right before serving so the sugar doesn't dissolve into the filling. If you're making these for a crowd, cut them into smaller squares because they're richer than they look.
- Zest the lemon before juicing it, it's so much easier that way.
- Let the butter cool slightly after melting so it doesn't cook the eggs in the filling.
- Line the pan with parchment that overhangs the edges for foolproof lifting.
 Save to Pinterest
 These bars have become my go-to whenever I need something that feels special without much fuss. They're bright, buttery, and always disappear faster than I expect.
Recipe Questions & Answers
- → How long should I chill the bars before serving?
Allow the bars to cool in the pan for at least one hour, then refrigerate for an additional hour. This chilling time is crucial for the filling to set properly, making them easier to slice and ensuring the best texture.
- → Can I substitute lime for lemon?
Yes, lime works beautifully as a substitute. Simply replace the lemon juice and zest with fresh lime juice and lime zest. The result will be slightly more tart with a distinct lime flavor profile.
- → How do I store leftover bars?
Store the bars in an airtight container in the refrigerator for up to one week. The cool temperature helps maintain the texture and prevents the filling from becoming too soft.
- → Why is my filling not set?
If the filling is too loose, it may need more baking time or additional chilling. You can also add one tablespoon of cornstarch to the lemon mixture before baking for a firmer consistency.
- → Can I freeze these bars?
Yes, these freeze well. Wrap individual squares in plastic wrap and place in a freezer-safe container for up to three months. Thaw in the refrigerator before serving.
- → What size pan works best?
A 9x9-inch baking pan is ideal for this recipe, producing bars with the perfect thickness. An 8x8-inch pan will yield thicker bars, while a 9x13-inch pan will make thinner ones.